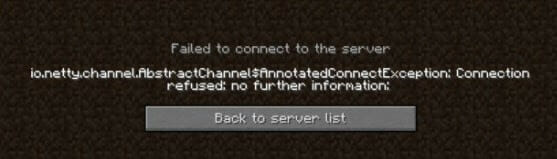
Do you enjoy creating buildings and exploring foods for survival in Minecraft? And then, like zombies in the game, an error screen appears with the message:
“io.netty.channel.AbstractChannel$AnnotatedConnectException: Connection refused: no further information” appears and you are kicked out of the game.
Although I understand how frustrating it can be, to face these errors while playing your favourite game.
The solution is simple:
In today’s guide, we’ll discuss what causes io.netty.channel.abstractchannel$annotatedconnectexception timed out Error, and 9 solutions we offer will resolve the error within minutes.
Let’s get started.
Unable to play Minecraft with your friend? Go, check out our separate post if your friend can’t connect to Minecraft server.
This error is more than just inconvenient – it blocks players from accessing their favorite servers across all major Minecraft channels such as LAN or multiplayer survival servers, where they’re most likely to encounter this bug!
Connection Refused Error: What Causes It?
There are several reasons why one may be getting io.netty.channel.abstractchannelannotatedconnectexception. Let’s find out:
1: Update Java
The Minecraft client host is missing some required files. Recommend updating Java on the client.
Unable to Update the Minecraft Native Launcher? Check our separate post for that.
2: IP Connectivity Error
The Host cannot connect to the gaming server or it’s getting a kick because of unfavorable network connectivity issues. Use a trustworthy VPN connection to resolve this problem.
3: Software Conflicts
There are a number of software combinations that may result in conflict issues when playing the game. In order to avoid disconnections during gameplay make sure you have disabled any third-party anti-virus programs, firewalls, server mods and Minecraft Forge.
4: Firewall
Your firewall software may also be blocking you from successfully connecting to the server. For your game client to work properly and connect to your game server, a directory and java files must be added to its exclusion list.
5: Overloaded server
The game server you’re trying to connect to is too crowded. All players are attempting to connect to the server at the same time. Connect with the server again when their load is (somewhat) lower, and you may be successful then. Note that there will be no connection issue as a result of this.
6: The Lobby Server may be down
There are many gamers who have a great time when the gateway server is up. Users should, however, hold their breath for a few moments while they wait for the lobby server to become available.
If you want to connect to a lobby server for the first time, you have two options to choose from. If you don’t find a server you like, you can try creating your own custom one.
The best part?
Providing potential solutions in order to rectify these problems is the next step. Be sure to test all the options listed to make sure there are no conflicts between them, as this could lead to a lot of trouble. Let’s get to it.
Also, with this guide you can clear chat in Minecraft.
How do I fix IO Netty channel AbstractChannel AnnotatedConnectException Connection Timed Out Tlauncher?
Continue reading to learn why Minecraft fails to connect to the server and how you can resolve io.netty.channel.abstractchannel annotatedconnectexception error immediately.
Solution 1-Delete Unreliable Software
Some software is not compatible with the Minecraft game. The user of a website can see a list of all plugins and other add-ons that are incompatible. Installing plugins or software that may interfere with the game is not recommended.
The solution is simple:
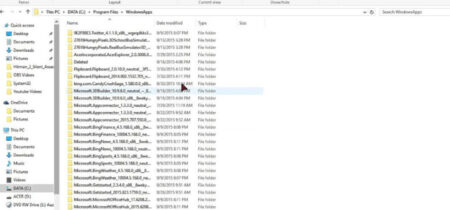
Specifically, Virtual Ethernet with Hamachi, which users should disable or uninstall. To see whether any programs are affected, you can use ipconfig to discover Virtual Ethernet Connection configurations with Hamachi and then locate copies of the files in the search panel.
Solution 2-Select a Suitable Working Port and Add the IP Address
In order to fix “connection refused” messages in Minecraft, you can try a few things. First of all, make sure your IP address is static and not dynamic. If it’s dynamic, there are some steps you can take to enable forwarding. Otherwise, you may want to look into a direct connection by configuring Minecraft yourself if possible.
Follow these steps to add an IP address and choose the correct working port:
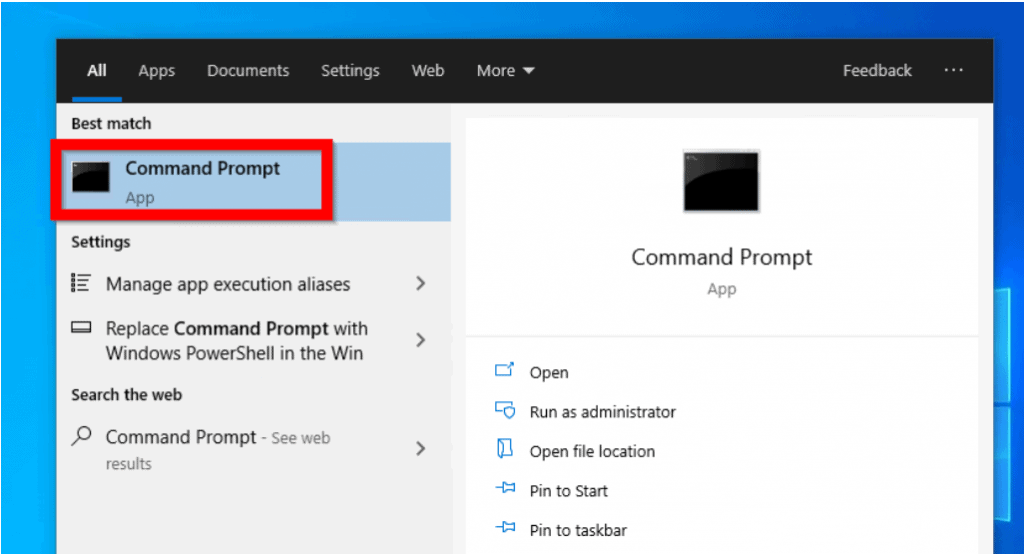
- Activate the Administrator mode of the Command Prompt.
- Note your IPV4 address by typing the command ipconfig.
- Open the Minecraft Server Properties text document by browsing to the Minecraft Servers folder > Maxwell (Minecraft Server folder) > Minecraft Server at the same time.
- Open Minecraft and click Play Multiplayer. Write down the Server Port.
- You can edit the server by selecting it and selecting Edit.
- Click Done after you type in the IPv4 address. You can now connect to a server using this address.
- Applying changes requires a refresh.
Check our post if Minecraft is not responding on your PC.
Solution 3-Reset Your Internet Connection
Minecraft server errors can be fixed by resetting your router. Connection problems with Minecraft servers are usually caused by a malfunction or bug in your internet router/modem.
Here is the trick:
- You should test your ISP(Internet service provider) before even trying to connect to a server.
- Check the speed of your internet connection using another device such as your phone or computer.
- Try to connect on the PC again once you are sure it is working.
- Connect your power cable and turn your router back on after it has been powered off for 3-5 minutes.
- You should then try connecting one more time after restarting or reconfiguring your modem/router completely by resetting its settings if there is still no success.
Also, Check out our separate post if Minecraft LAN not Working.
Solution 4-Create Exceptions in Minecraft’s Firewall Settings
If your VPN or Windows Firewall is blocking you from accessing the Minecraft game server, the best option for a fix is to add exceptions in the firewall to avoid connection timed out errors. Therefore, adding some exceptions will solve the problem!
Here’s complete guide on How to Fix Exception_access_violation Minecraft Error.
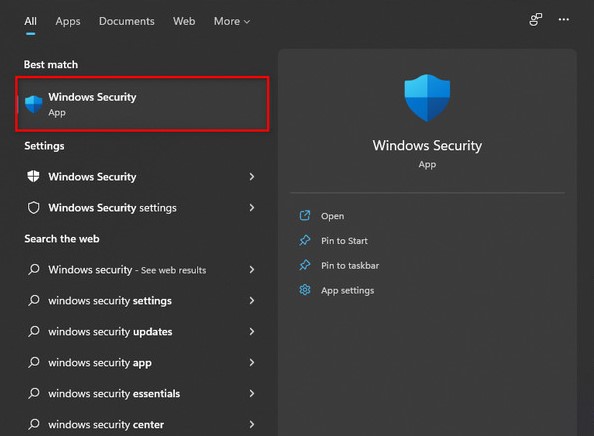
To add exceptions to Firewall Settings, follow these steps:
- Type Windows Security into the search bar on your computer.
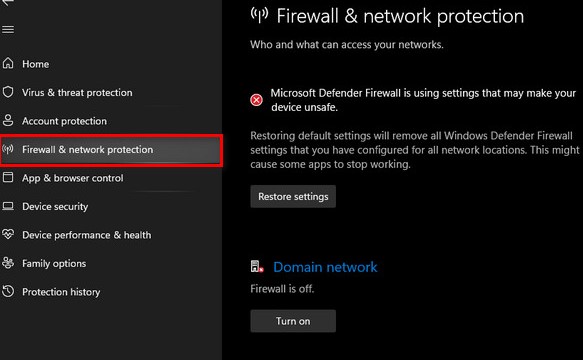
- Choose Firewall & Network Protection from the left pane of Windows Security.
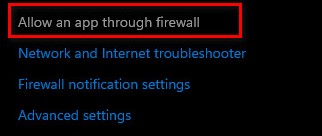
- Choose the Firewall option for Allow an App.
- Change the settings by clicking on the Change Settings button.
- Once again, click Allow another app.
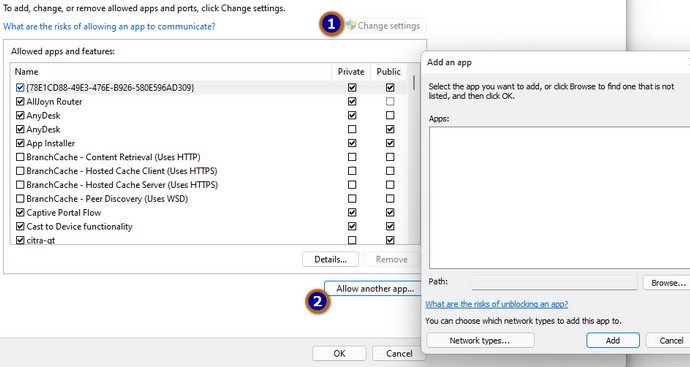
- Navigate to the directory where the game is installed and select the launcher executable.
- Steps 5 and 6 must be repeated again, only this time you should open the directory folder where the Minecraft servers are installed.
- Go to the Minecraft servers folder and open it.
- Once you have finished the process, allow the Java executables in the folder.
- To continue, repeat steps 4 and instead of clicking Allow another application, scroll down to the Java Platform SE Binary section.
- Ensure that both Private and Public networks can access the Java Platform SE Binary options.
- It is now possible to check if the error has been resolved by opening the Minecraft launcher.
Still couldn’t set firewall setting for Minecraft? Don’t worry, we have a separate post on How To Allow Minecraft Through Firewall?
Solution 5-Look for Port Forwarding/Filtering
Log into your router and connect. That’s the first time you’ve entered a device name, username, or password. The instructions are likely to be on the bottom of your router or in the instructions you received with it.
Select “Port Forwarding” from the menu. Also known as a “Virtual Server,” it can be found under the “Advanced” section.

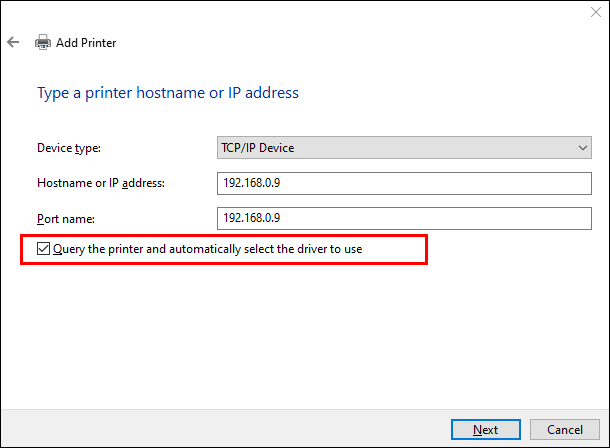
On the next screen, you’ll have to enter a Device name, a Port, and an IP address. Additionally, you can choose a Protocol.
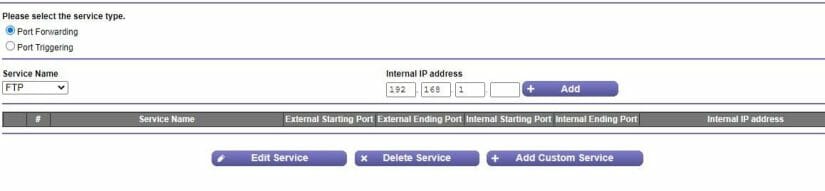
Fill in the fields with the correct information by checking the information on your computer. Usually, TCP/UDP or both protocols are available.
Click “Apply” or “Save” to finish.
Reconnect to your server after restarting Minecraft.
Still stuck? then check our separate guide on Minecraft Port Forwarding Not Working.
Solution 6-For Minecraft, check your ISP’s network access
You should check your ISP’s network access if none of the above methods work. Most ISPs won’t block particular domains from passing through their network. But you won’t be able to get to certain servers. You should check with your ISP to see if internet access is truly blocked.
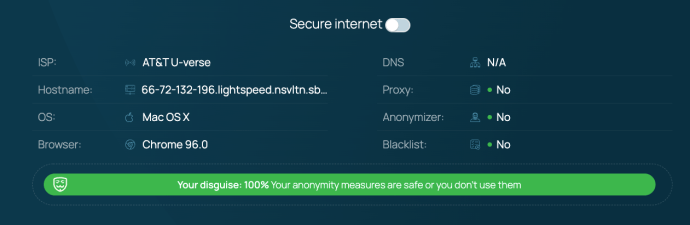
Alternatively, you can also switch the internet from high to low speed and see if that helps. In that case, if your ISP is probably blocking you, you’ll need to switch networks.
Check our separate article for Minecraft Xbox One Connection Failed.
Solution 7-Install Minecraft again
Neither single-player nor multiplayer servers can be affected by this error. For an abstract channel error to be resolved, use a trusted VPN.
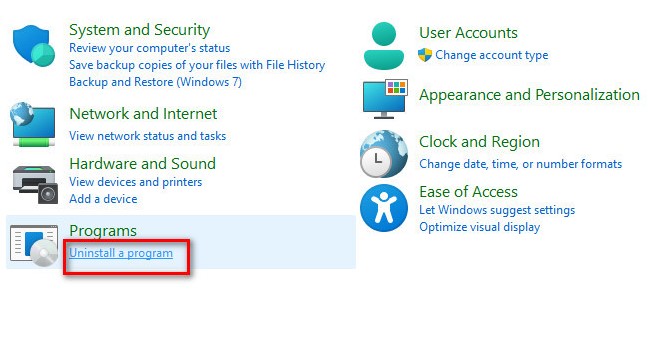
Game data can be corrupted sometimes, causing you problems like Minecraft disconnection errors. It is recommended that all Minecraft players reinstall the game after uninstalling it.
Minecraft can be uninstalled by navigating to Control Panel> Uninstall a Program> selecting Minecraft from the list of programs.
With these guides you can easily find buried treasure and seagrass in Minecraft.
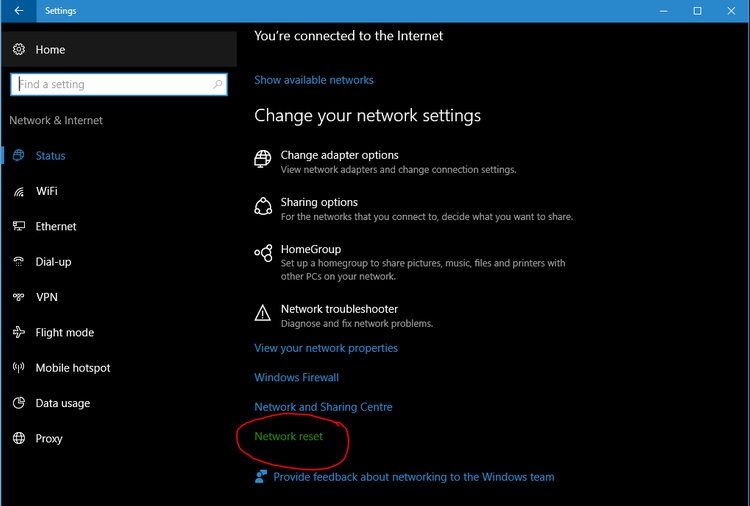
Solution 8-Network Configuration Reset
You may also be at fault if your Windows Network is configured incorrectly. You may have incorrect network settings. This can cause your game server and host server to be disconnected from each other. To restore the network settings, follow the instructions here.
- Type “Command Prompt” in the Windows Search bar (left bottom) and then click “run as administrator.”
- Once the Command Prompt window is open, type the following commands into it.
ipconfig /flushdns
ipconfig /release
ipconfig /renew
netsh Winsock reset
netsh int ip reset
- Restart your computer to see if the problem persists.
Here’s the easiest guide to fix Minecraft Exit Code 1 Error.
Solution 9-Java Software Update
Java must be updated for Minecraft to function properly. Backdated Java software cannot be used. Minecraft will not be able to connect if your Java version is outdated.
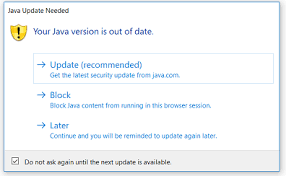
After that, the Java.net.connectexception connection timed out no further information error can be seen. For Minecraft servers, it is necessary to have an account with Learn to Mod. You have no account with Learn To Mod if you receive the Java.net connectexception minecraft error. JAVA’s latest version can be updated to fix the issue.
There’s also a similar error which can cause io.netty.channel.abstractchannel$annotatedconnectexception. Check out our separate post to solve Internal Exception: java.io.ioexception in Minecraft.
Time to Get Back to the Lobby!
A big problem for Legends of Minecraft is the error message, “io.netty.channel.abstractchannel$annotatedconnectexception Connection refused: no further information.” By fixing the failed to connect to server error once, you will never have to deal with this error again. Also, let us know if you solved your problem? Which method worked best for you?
If none of the steps above worked for you, I would suggest fixing the LAN card to see if this error goes away.
Frequently Asked Questions
Io Netty Channel ConnectTimeoutException: What Is It?
The error ‘Io.Netty.Channel connectTimeoutException’ appears when Minecraft players attempt to connect to a normal or Realm server. There have been reports of the issue only occurring on PCs running Windows 7, 8.1, and 10.
How do I fix IO netty error in Minecraft?
You can fix the error by starting your computer, restarting Minecraft, and power cycling your router by turning it off for a minute and turning it back on again. If these steps didn’t work, you can try more advanced ones.