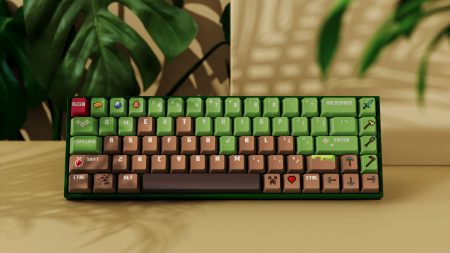
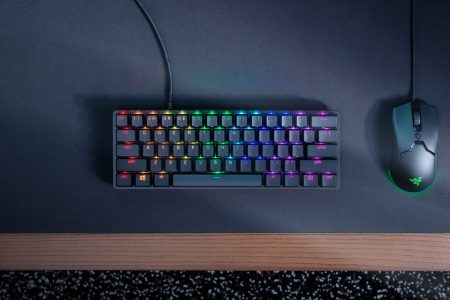
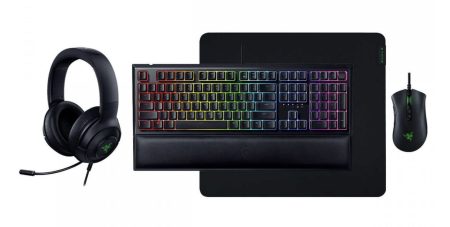
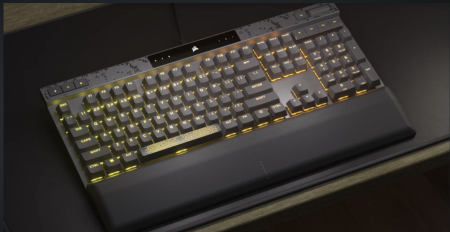
How To Clean A Razer Keyboard
Does your Razer keyboard seem a tad too dusty for comfort? We understand completely! After all, dust has a knack for not just cramping our style but also slowing down those rapid-fire typing sessions.
This stands out even more on backlit keyboards like the ones from Razer. But fear not, we’re here to rescue your cherished gadget from dreaded dirt and grime. So let’s roll up our sleeves and get things spick-and-span; it’s high time that we return your trusty gaming companion back to its peak performance conditions!
Key Takeaways
- Regularly cleaning your Razer keyboard is important to remove dust and improve visibility, prevent germs and bacteria, extend its lifespan, and maintain optimal performance.
- Essential tools for cleaning a Razer keyboard include a clean and flat space, microfiber cloths, keycap remover, rubbing alcohol (used sparingly), brush, cotton swabs, a mixture of soap and water (for keycaps), switch lubricant, tweezers (to remove hair strands), compressed air can (to blow away debris), and cleaning gel.
- The step-by-step cleaning process includes finding a clean and flat space, unplugging the keyboard, and using a microfiber cloth to wipe away dust residues and oil fingerprints on the surface of the keyboard. Removing keycaps with a keycap puller and flathead screwdriver. Soaking the keycaps in warm soapy water before washing them thoroughly.
- Cleaning internal parts with brushes/cotton swabs/compressed air but avoiding excessive moisture on switches. Reconnecting keycaps securely by placing them back in their exact position. Regularly cleaning visible dust accumulation for optimal performance.
Importance of Cleaning a Razer Keyboard
 Cleaning a Razer keyboard is crucial for several reasons. Dust accumulation not only affects its appearance but also hampers visibility and can lead to slower typing speeds and decreased performance.
Additionally, regular cleaning helps prevent the growth of germs and bacteria, promoting a healthier gaming environment. Furthermore, maintaining cleanliness extends the lifespan of the keyboard, ensuring durability and optimal functionality.
Dust accumulation and visibility
Dust piles up and shows on Razer keyboards quite a lot. This is due to the cool backlight feature they have. It may look like stars against a night sky, but it’s not good for your keyboard! Dust slows down typing and messes with the switches of keys when you press them.
So, if you want to keep gaming at top speed, regular cleaning is a must.
Impact on typing speed and performance
Dirt and dust can slow your typing speed on a razer keyboard. This happens because debris gets in the way of switches. Switches need to connect after you press a key. If they don’t, keys might stick or not work right away.
This messes with game play as well as typing tasks. So, keep your Razer keyboard clean for fast typing and top performance in games! A clean Razer also keeps the cool backlight feature clear of dirt, making each key shine bright.
Prevention of germ growth and bacteria
Your Razer keyboard could become a home for germs and bacteria. This happens when dirt builds up over time. Do not let this happen to your gaming tool! A clean keyboard is good for your health.
Regular cleaning prevents germ growth and harmful bacteria. You press the keys millions of times while playing games, chatting, or browsing the web. All these touches can leave bad stuff on the keyboard from your fingers.
So regular cleaning is very important to remain healthy while using your Razer device.
Your regular gaming performance also gets better with less germs around you! You can’t see them, but they are there on an uncleaned Razer Keyboard sitting between the switches and keycaps – causing problems during gameplay.
Germs grow faster in dirty areas making room for more bacteria which might cause diseases if ignored; plus it slows down keystrokes that affect speed during games too!
So always keep in mind – Cleaning equals health and fast strokes!
Extension of keyboard lifespan
Regular cleaning of your Razer keyboard is crucial in extending its lifespan. When the keyboard gathers dust and debris, it can affect the switches’ performance and connectivity, leading to a shorter lifespan.
Additionally, visible dust accumulation on Razer keyboards is common, making regular cleaning even more important for maintaining longevity. By keeping your keyboard clean, you reduce the risk of damage and malfunction due to dirt and debris, ultimately prolonging its lifespan.
So remember to clean your Razer keyboard regularly to ensure optimal functionality and durability over time!
Tools Required for Cleaning

To clean a Razer keyboard, you’ll need a clean and flat space, microfiber cloths, keycap remover, rubbing alcohol, brush, cotton swabs, and more. Read on to learn how to properly clean your keyboard for optimal performance.
Clean and flat space
For cleaning your Razer keyboard, it’s important to have a clean and flat space. This will provide you with enough room to work on your keyboard comfortably and prevent any accidental damage.
Find a sturdy surface like a desk or table where you can spread out all the tools and materials needed for the cleaning process. Make sure the area is free from any clutter or distractions that could interfere with your task.
By having a clean and flat space, you’ll be able to focus on effectively cleaning your Razer keyboard without any unnecessary obstacles in your way.
Microfiber cloths
Microfiber cloths are an important tool for cleaning a Razer keyboard. They are used to clean dust residues and wipe away oil fingerprints and hard stains. With their soft texture, microfiber cloths help prevent any scratches or damage to the surface of the keyboard.
By using microfiber cloths regularly, you can keep your Razer keyboard looking clean and in top condition for a great gaming experience.
Keycap remover
To clean a Razer keyboard effectively, you’ll need a keycap remover. This tool is essential for removing the keycaps from your keyboard without causing any damage. You can use a keycap puller and a flat-head screwdriver for longer keys.
The keycap puller helps remove the keycaps gently, while the flat-head screwdriver is specifically used for those longer keys on your keyboard. To reconnect the keycaps after cleaning, simply place them back in their exact position, press them down to meet the connectors, and tap them multiple times to ensure they are securely fixed in place.
Flathead screwdriver
To clean a Razer keyboard, you will need a few tools, including a flathead screwdriver. The flathead screwdriver is handy for removing keycaps, especially the longer ones. It should be used along with a keycap puller to safely and effectively remove the keycaps.
Make sure to handle the flathead screwdriver carefully to avoid any damage to your keyboard or its keys. It’s important to have the right size and quality of flathead screwdriver for successful cleaning of your Razer keyboard.
Rubbing alcohol
Rubbing alcohol is an important tool for cleaning a Razer keyboard. It is very effective in removing tough stains that may have accumulated over time. However, it’s important to avoid using too much water when applying rubbing alcohol on the switches of the keyboard to prevent any damage.
So make sure to use rubbing alcohol sparingly and wipe away those stubborn stains for a clean and fresh gaming experience.
Brush
A brush is a necessary tool for cleaning your Razer keyboard. It can help you remove dirt, debris, and hair strands from both the keycaps and the internal parts of the keyboard. When used along with cotton swabs and tweezers or compressed air, it ensures that your keyboard stays clean and functions properly.
By using a brush regularly, you can maintain the cleanliness and functionality of your Razer keyboard, which is important for gamers like us.
Cotton swabs
Cotton swabs are an important tool for cleaning your Razer keyboard. They can be used to clean the internal parts of the keyboard, like removing dust and dirt from hard-to-reach areas.
You can also use cotton swabs with compressed air to effectively remove hair strands that might get stuck in between the keys. They work well when combined with a brush and tweezers for a thorough cleaning.
Just remember, when using cotton swabs, avoid using excessive water on the switches to prevent any damage.
Mixture of soap and water
To clean your Razer keyboard effectively, you’ll need a mixture of soap and water. This solution is perfect for soaking your keycaps to remove dirt and grime. All you have to do is immerse the keycaps in the mixture of warm water and soap for about an hour.
After that, give them a good wash and dry them thoroughly. This will ensure that your keycaps are clean and ready to be reattached to your keyboard.
Switch lubricant
Switch lubricant is an important tool for cleaning a Razer keyboard. It helps keep the switches working properly when you press a key. The lubricant ensures that the switches can connect smoothly and prevents them from getting stuck or becoming unresponsive.
By applying switch lubricant during the cleaning process, you can maintain the performance and longevity of your Razer keyboard.
Tweezers
Tweezers are a must-have tool for cleaning your Razer keyboard. They are great for removing those pesky hair strands that can get stuck in hard-to-reach areas of the keyboard. By using tweezers, you can effectively clean the internal parts and ensure that your keyboard stays in good condition for longer.
With a step-by-step guide, you can safely use tweezers to remove hair strands and improve the overall effectiveness of your cleaning process. So don’t forget to include tweezers in your arsenal of tools when it’s time to give your Razer keyboard a thorough cleaning.
Compressed air can
To clean a Razer keyboard effectively, you’ll need a compressed air can. This tool is essential for reaching those tricky areas where dust and dirt tend to hide. By using the compressed air can, you can blow away any debris that may be interfering with your gaming experience.
It’s also important to use the canned air to clean the internal parts of the keyboard, ensuring everything is free from dust buildup. Regularly cleaning your Razer keyboard with a compressed air can will help maintain its performance and extend its lifespan.
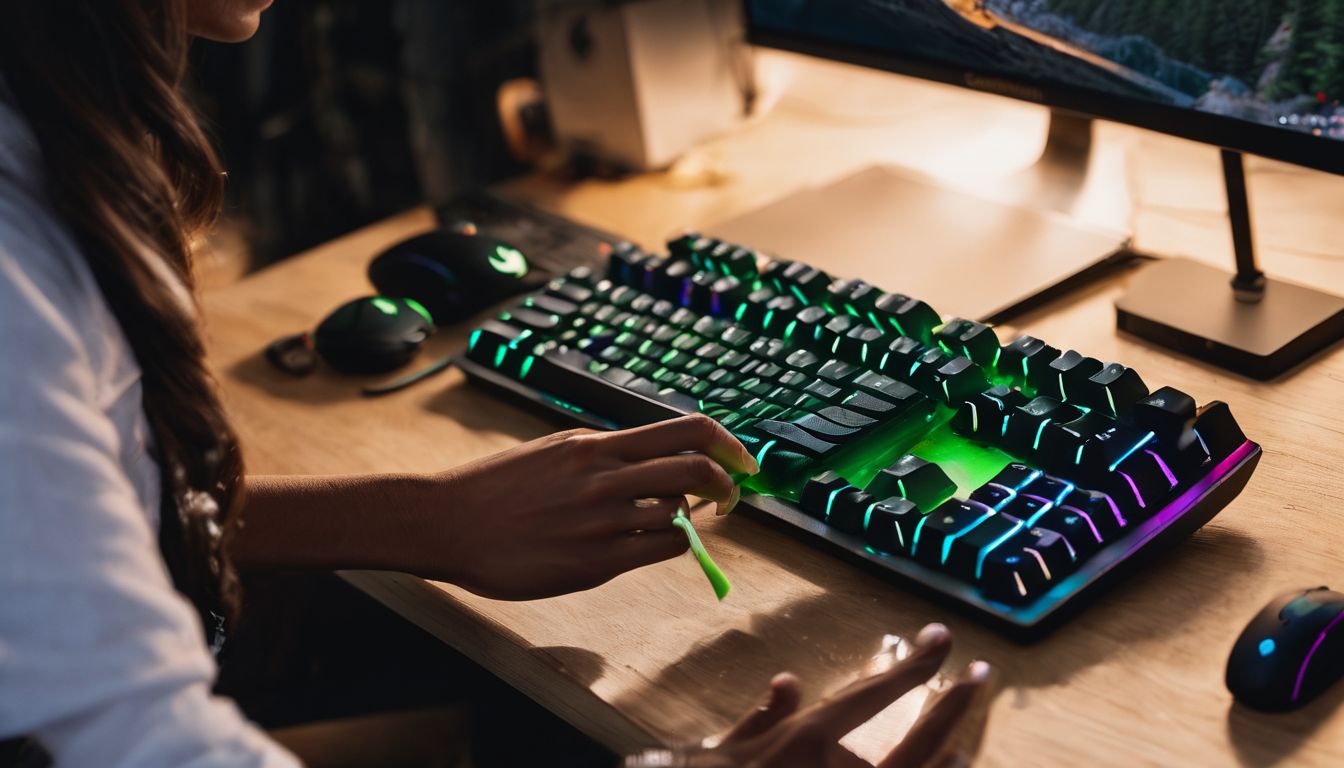
Cleaning gel
Cleaning gel is a must-have tool for cleaning your Razer keyboard and ensuring it stays in top shape. It’s specifically designed to remove dirt and debris from your keyboard without causing any damage.
By applying the cleaning gel to the keyboard and then wiping it off with a microfiber cloth, you can achieve a thorough clean that improves the performance of your keyboard. Regular use of cleaning gel helps maintain the cleanliness and longevity of your Razer keyboard, so it’s definitely worth investing in this handy product.
Step-by-Step Cleaning Process
To clean your Razer keyboard, start by finding a clean and flat space and unplugging the keyboard. Use a microfiber cloth to wipe away dust residues and oil fingerprints. Shake the keyboard upside-down and use a can of compressed air to reach harder-to-reach areas.
Remove keycaps using a keycap puller and flathead screwdriver. Soak the keycaps in warm water with soap, wash them, and let them dry. Clean internal parts with a brush, cotton swabs, or compressed air.
Use rubbing alcohol for tough stains but avoid excessive moisture on switches. Reconnect keycaps by placing them back in their exact position and pressing down securely. Regularly clean visible dust accumulation for optimal performance.
Find a clean and flat space, unplug the keyboard
First, make sure you find a clean and flat surface to work on. This will provide a stable and safe space for cleaning your Razer keyboard. Next, it’s important to unplug the keyboard from your computer before starting the cleaning process.
This ensures that no electrical currents are present while handling and cleaning the keyboard. These two steps are essential in creating a suitable environment for effectively and safely cleaning your Razer keyboard.
Use microfiber cloth to clean dust residues and wipe away oil fingerprints and hard stains
I use a microfiber cloth to clean my Razer keyboard. It’s great for removing dust residues, oil fingerprints, and hard stains. Just a quick wipe with the cloth can make my keyboard look brand new again.
It’s an essential tool for keeping my keyboard clean and in good condition.
Shake the keyboard upside-down and use compressed air can for harder-to-reach areas
To get rid of dirt and debris in those tough-to-reach spots, simply give your keyboard a good shake upside-down. This will help loosen and dislodge any particles that may be stuck between the keys.
To further clean these areas, use a can of compressed air. The strong stream of air will blow away any remaining dust or debris, leaving your keyboard fresh and clean.
Remove keycaps with keycap puller and flat-head screwdriver
I use a keycap puller and flat-head screwdriver to remove the keycaps. The keycap puller helps me safely lift off the keycaps without damaging them or the keyboard. For longer keys, like the spacebar, I might need to use both the keycap puller and flat-head screwdriver.
Once all the keycaps are removed, I can clean them thoroughly before reconnecting them. It’s important to remember to place each keycap back in its exact position and press down firmly until it’s securely attached.
Tapping each keycap multiple times ensures that they are properly fixed in place.
Soak keycaps in soap and warm water, wash and dry them
To clean your keycaps, you can soak them in a mixture of soap and warm water for about an hour. This will help remove dirt and grime from the surface. After soaking, make sure to wash and dry the keycaps thoroughly before reattaching them to your Razer keyboard.
Soaking and cleaning the keycaps regularly will keep them looking clean and maintain their performance for a longer time.
Clean internal parts with brush, cotton swabs, and tweezers or compressed air
To clean the internal parts of your Razer keyboard, you will need a brush, cotton swabs, and tweezers or compressed air. These tools are essential for removing dirt and dust that can accumulate inside the keyboard over time.
Use the brush to gently sweep away any debris or particles from between the keys. Then, use cotton swabs to clean hard-to-reach areas and remove any stubborn dirt or grime. If there are hair strands stuck in the keyboard, you can use tweezers or compressed air to carefully remove them.
Remember to be gentle when cleaning the internal parts to avoid causing any damage to your keyboard.
Use rubbing alcohol for tough stains, avoid excessive water on switches
To clean tough stains on your Razer keyboard, you can use rubbing alcohol. It works well to remove those stubborn marks and keep your keyboard looking clean. However, it’s important to avoid using excessive water on the switches of your keyboard.
Water can cause damage to the sensitive components inside the switches, so be careful when cleaning around them. Stick with rubbing alcohol for tough stains and you’ll have a sparkling clean keyboard without any risk of damage.
Reconnect keycaps by placing them in exact position, pressing down and tapping multiple times
To reconnect the keycaps, make sure to put them in the right spot on the keyboard. Press down firmly so they connect properly. Then, tap each keycap multiple times to ensure they are securely in place.
This will help prevent any wobbling or looseness while typing and gaming. Taking these steps ensures that your Razer keyboard functions smoothly and efficiently for an enhanced gaming experience.
Regular cleaning for visible dust accumulation
Regular cleaning is essential to keep your Razer keyboard in top shape, especially when it comes to visible dust accumulation. Dust can easily settle on the keys and affect your gaming experience.
To clean it up, simply use a microfiber cloth to wipe away the dust residues around the keys. You can also turn the keyboard upside-down and give it a little shake to remove any dirt and debris that might have gotten stuck in between the keys.
Remember, keeping your keyboard clean will not only make it look better but also ensure smooth and uninterrupted gameplay. Happy gaming!
Conclusion
In conclusion, cleaning your Razer keyboard is essential to keep it dust-free and working at its best. It not only improves the visibility of the keys but also prevents germs from building up.
By following the step-by-step process and using the right tools, you can easily clean your keyboard and ensure a better gaming experience. So don’t forget to regularly clean your Razer keyboard for optimal performance!
FAQs
1. How do I clean a Razer keyboard?
To properly clean a Razer keyboard, you start cleaning by turning the device off and unplugging it from your computer. Then remove the keys using either a pocket knife or another flat tool to pry the keys.
2. Can I use rubbing alcohol to clean my Razer keyboard?
Yes, isopropyl alcohol also known as rubbing alcohol can be used for cleaning Razer keyboards. Use a cotton swab dipped in minor amounts of alcohol to wipe away grime or gunk on keycaps one by one without damaging them.
3. What if all the dirt doesn’t come out with just wiping?
You can use compressed air spray after removing the keys to blow dust away from grooves and hard-to-reach places where dirt might have piled up over time on your mechanical or optical board.
4. Should I remove all kinds of keys while cleaning my Razer keyboard?
It’s better not to remove larger keys like spacebar, shift key, enter key as they could damage easily but most of other removable keycaps can be taken out for thorough cleaning
5. Do I need any special materials when cleaning my razer devices including keyboards?
No special materials needed except maybe lint-free cloth, soft brushes along with earlier mention tools and solution.
6.Do i need o keep track of position while set back in place each removed Keyboard Key ?
yes! Keeping picture of your keyboard before starting will help in putting each key back correctly at their specific spot.