If you have a razer keyboard, you might want to change the backlight colors to match the environment. Whether it is the one that matches the game or application you are using or the color you like the most, your razer keyboard can do it.
However, you will not find a detailed how-to guide online. So, we have come up with a step-by-step guide to help you customize your razer keyboard just the way you like.
What Is a Razer Keyboard?
Razer Keyboards are all about gaming and providing the best experience while you game on a PC. They also provide you with full control and high sensitivity that allows you to get the most out of your gaming experience. Moreover, they’re comfortable to use, feel great in the hands, and look stellar.
Razer keyboards come in several editions for you to try. Some contain a low latency rate, while others offer extra wrist support for long sessions of gaming. Therefore, whatever product you choose, it will provide you with the best features and RGB backlight colors.

Why Should I Update the Colors on Razer Keyboard?
Although several people use razer keyboards, some do not make good use of the extensive controls it provides. One of these controls that you can freely customize to your liking is the backlight colors on the keyboard.
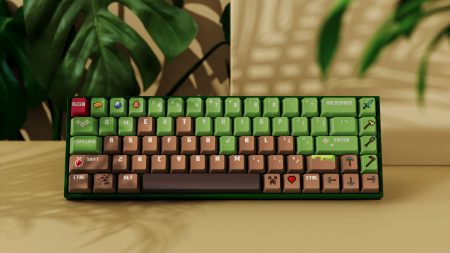
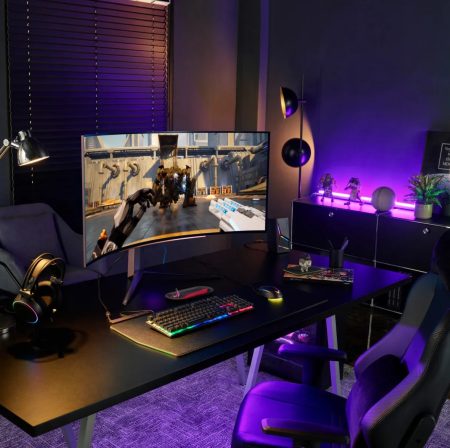
Your keyboard’s colors — especially the integrated backlit ones — help users to continue with their work in the dark. The default setting on most keyboards is usually a white backlit color. However, you can use a different color or a mix of several ones to tailor your experience to your liking — whether in terms of applying your favorite color palette or creating color profiles for each game or application you launch. You can also customize your keyboard’s colors to match your room’s palette and add to the aestheticism of your surroundings.
How to Change the Colors on Razer Keyboard
Changing your Razer keyboard’s color profile is much simpler than you think. First of all, go to your Razer Synapse Dashboard. There, you will see a list of all of the Razer devices on your account; select the keyboard you want to customize from that list.
Next, navigate to the ‘Lighting’ tab, which will give you three options to select from. You want to choose ‘Effects’. After that, you will be given the option to pick whatever colors you so desire. Moreover, you will see several other options, like Fire, Ripple, and Audio Meter. Give each of them a go till you are satisfied with the appearance of your keyboard.
That’s not all though; you can then navigate to the top left corner of the screen and click the hamburger icon. After that, you can choose the keyboard to further customize your profile, including the ‘Switch Lighting’ feature. This feature will display several ways your chosen colors can light up your keyboard as you use it. Once you’ve found your style of choice, click ‘Save’.
You can perform the same steps for other versions of the Razer Synapse Dashboard, including Synapse 2.0. Once again, navigate to your keyboard settings, go to the ‘Lighting’ tab, and choose your favorite colors from the palette. You can then choose your desired effects from the shortcuts field right under your profile name. Once you’re done, click OK and confirm your settings to view the updates on your Razer keyboard.
Final Thoughts
Congratulations, you now know how to customize the colors on your razer keyboard using a few simple steps. Once you feel more confident, how about you go back into the settings and see if you want to try out any of the more advanced options? Who knows, maybe you’ll come up with a better profile than the one you initially made.